I. Introduction
Understanding the Need for Sensory-Friendly Rooms
Children with autism often experience sensory processing issues that can make everyday environments overwhelming. Sensory processing disorder (SPD) is a condition where the brain has trouble receiving and responding to information that comes in through the senses. For children with autism, sensory input such as lights, sounds, textures, and even smells can be either too intense or underwhelming, leading to anxiety, behavioral issues, or difficulties in concentration and focus. According to research, nearly 90% of children with autism have some form of sensory processing difficulties .
Creating a sensory-friendly environment at home can significantly help these children manage their sensory inputs. A well-designed sensory room offers a controlled environment where children can either calm down or become more engaged, depending on their needs. It’s a space tailored to their unique sensory requirements, providing a sanctuary from the sensory overloads they may face in everyday life.
Benefits of a Sensory-Friendly Room
A sensory-friendly room is not just a luxury but a necessity for many children with autism. These rooms help in several ways:
- Managing Anxiety: By controlling sensory stimuli, these rooms can help reduce anxiety, allowing children to feel safe and secure.
- Improving Focus: Sensory-friendly rooms can enhance concentration and learning by minimizing distractions and providing appropriate sensory inputs.
- Providing a Safe Space: These rooms offer a safe environment where children can explore and engage with sensory materials at their own pace.
The benefits of these rooms are well-documented in occupational therapy, where sensory integration techniques are often used to help children with autism better manage their environment .
Purpose of the Guide
This guide aims to provide a step-by-step approach for parents and caregivers to create a sensory-friendly room tailored to the needs of children with autism. By following this guide, you can create a space that not only meets your child’s sensory needs but also enhances their overall well-being.
II. Planning Your Sensory-Friendly Room
Assessing Your Child’s Sensory Needs
Before you start designing your sensory-friendly room, it’s essential to understand your child’s specific sensory needs. Each child with autism is unique, and their sensory preferences can vary widely. Some children might be hypersensitive to stimuli like bright lights or loud sounds, while others might seek out more intense sensory experiences.
To assess your child’s needs, observe their reactions to different sensory inputs. For example, do they cover their ears when they hear loud noises, or do they enjoy tactile sensations like touching various textures? You might also want to consult with an occupational therapist who specializes in sensory processing to get a more detailed assessment .
Choosing the Right Space
Once you have a clear understanding of your child’s sensory needs, the next step is choosing the right space in your home to create the sensory room. Ideally, this should be a quiet area with minimal foot traffic. Consider the size of the room and the amount of natural light it receives. Rooms with too much natural light might require additional modifications, like blackout curtains, to control light levels.
Noise levels are another important consideration. If the chosen room is near a noisy area, like a kitchen or living room, you might need to add soundproofing to ensure the space remains calm and quiet.
Setting a Budget
Creating a sensory-friendly room doesn’t have to break the bank. Start by setting a budget that accounts for essential items, such as sensory toys, comfortable seating, and safety modifications. Prioritize these essentials over more decorative or optional items.
There are many affordable sensory products available, and with some creativity, you can also create DIY sensory tools. For example, you can make a sensory wall using different textured materials or create a calm-down jar filled with water, glitter, and food coloring to serve as a visual stimulant.
III. Step-by-Step Guide to Creating a Sensory-Friendly Room
Step 1: Selecting Calming Colors and Lighting
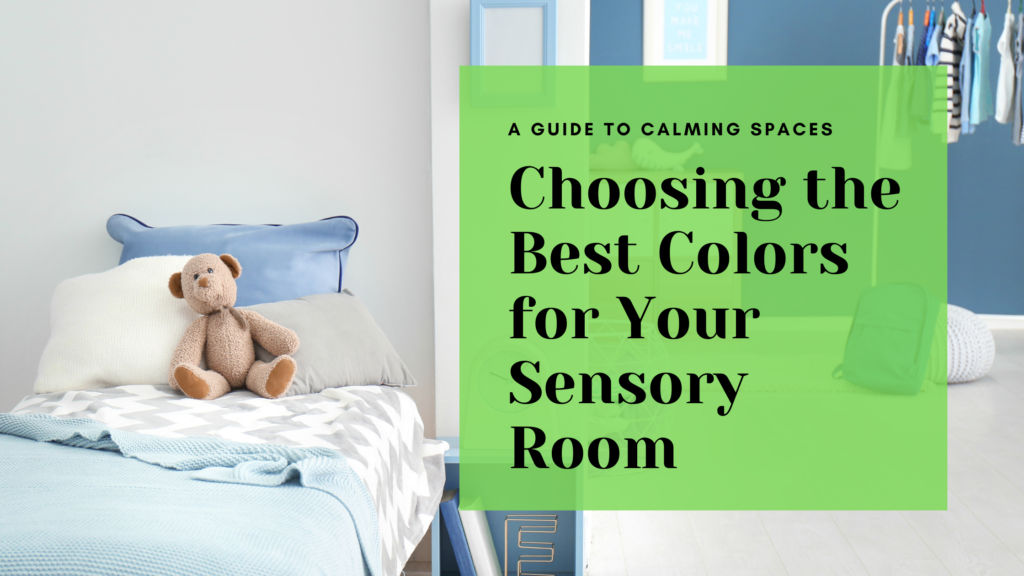
Color plays a significant role in setting the tone of a sensory room. Soft, calming colors like pastels, light blues, and greens are ideal for creating a soothing environment. Bright, bold colors may be overstimulating, so it’s best to avoid them in large amounts. Neutral tones can also work well, providing a calm backdrop that doesn’t overwhelm the senses.
Lighting is equally important. Dimmable lights are a great option, allowing you to adjust the brightness according to your child’s needs. Sensory lighting, such as bubble tubes or fiber optics, can provide both visual stimulation and a calming effect. If the room has windows, consider installing blackout curtains or shades to control natural light.
Keywords: Calming colors for sensory rooms, sensory room lighting ideas.
Step 2: Incorporating Comfortable and Safe Flooring
The flooring in a sensory room should be both comfortable and safe. Soft play mats, carpets, or rubber flooring are all excellent options. These materials provide cushioning that can prevent injuries if a child falls or decides to play on the floor.
Creating different zones within the room can help in organizing activities. For example, you might have a soft, cushioned area for relaxation and another zone with firmer flooring for more active play. This zoning helps children understand that different areas are designated for different activities, which can be particularly beneficial for those who thrive on routine and structure.
Keywords: Sensory room flooring options, safe flooring for autism rooms.
Step 3: Selecting Sensory-Friendly Furniture
Furniture in a sensory room should be both functional and comfortable. Bean bags, sensory swings, and cuddle chairs are excellent seating options that provide deep pressure stimulation, which many children with autism find calming. These types of furniture allow children to feel secure and supported, reducing anxiety and encouraging relaxation.
Safety is paramount when choosing furniture. Make sure that all items are stable, secure, and made from non-toxic materials. Avoid sharp edges and ensure that any heavy furniture is anchored to the wall to prevent tipping.
Keywords: Best sensory room furniture, autism-friendly seating.
Step 4: Adding Sensory Toys and Equipment
Sensory toys and equipment are the heart of any sensory-friendly room. These tools help engage your child’s senses in a controlled manner, providing both stimulation and comfort. Tactile toys like textured balls, fidget spinners, and kinetic sand can offer sensory input that helps children focus and stay calm.
Weighted blankets are another essential item. They provide deep pressure touch stimulation, which has been shown to reduce anxiety and improve sleep in children with autism . Interactive equipment, such as sensory walls or tactile panels, can keep children engaged and provide multiple sensory experiences simultaneously.
Keywords: Best sensory toys for autism, must-have sensory room equipment.
Step 5: Controlling Sound and Noise Levels
Sound control is crucial in a sensory room, especially for children who are hypersensitive to noise. To reduce unwanted sounds, consider adding soundproofing materials such as carpets, curtains, or acoustic panels. These items can help absorb noise and create a quieter, more peaceful environment.
White noise machines or calming sound devices can also be beneficial. These machines produce gentle background noise that can help mask sudden, loud sounds and create a consistent auditory environment that many children with autism find comforting.
Keywords: Soundproofing a sensory room, sensory room sound control.
Step 6: Incorporating Calming Scents with Aromatherapy
Aromatherapy can be a powerful tool in a sensory room. Scents like lavender, chamomile, and vanilla are known for their calming properties and can help reduce anxiety and promote relaxation . Essential oil diffusers are a popular choice for dispersing these scents throughout the room.
When using aromatherapy, it’s important to choose safe, high-quality essential oils and to follow all safety guidelines, particularly regarding the concentration and exposure time. Some children may be sensitive to strong smells, so start with a small amount and observe how your child reacts before increasing the intensity.
Keywords: Aromatherapy for autism, calming scents for sensory rooms.
Step 7: Organizing and Decluttering the Space
A clutter-free environment is essential in a sensory room. Too many items can lead to overstimulation, making it difficult for children to focus and relax. Minimalism should be your guiding principle, with only essential sensory tools and furniture in the room.
Organizing sensory toys and equipment is also important. Storage solutions like bins, shelves, and cabinets can help keep the room tidy and ensure that items are easy to find and use. Labeling bins and shelves can also help children understand where things belong, fostering independence and organization skills.
Keywords: Organizing a sensory room, clutter-free autism space.
IV. Tips for Maintaining and Adapting the Sensory Room
Regular Updates Based on Your Child’s Needs
Your child’s sensory needs may change over time, so it’s important to regularly reassess and update the sensory room. This might involve adding new sensory tools, changing the room’s layout, or adjusting the lighting and colors as your child’s preferences evolve. Keeping the room adaptable ensures it remains a beneficial space as your child grows.
Cleaning and Maintenance Tips
Maintaining the cleanliness and safety of the sensory room is crucial. Regularly clean and inspect sensory toys and equipment to ensure they are in good condition and free from hazards. Pay special attention to items that are frequently touched, like tactile toys and seating, as these can harbor germs and dirt.
Involving Your Child in the Process
Encouraging your child to participate in the design and maintenance of their sensory room can increase their comfort and sense of ownership. Allowing them to choose colors, furniture, and sensory toys that appeal to them ensures the room is tailored to their needs and preferences. This involvement can also help them feel more in control and secure in their environment.
V. Conclusion
Recap of Key Steps
Creating a sensory-friendly room for a child with autism involves careful planning and thoughtful selection of materials, colors, and sensory tools. By understanding your child’s unique sensory needs, choosing the right space, and incorporating calming elements like soft lighting, comfortable furniture, and sensory toys, you can create a room that enhances their well-being and provides a safe haven from sensory overload.
Encouragement to Start the Project
Taking the first steps to create a sensory-friendly space may seem daunting, but with careful planning and a focus on your child’s needs, it is a manageable and rewarding project. The benefits of such a room can be profound, offering your child a place to feel calm, focused, and secure.
As you begin this journey, explore recommended products, seek professional advice if needed, and consider involving your child in the process to ensure the space truly reflects their needs. Share your sensory room setups with others in the autism community, helping to spread ideas and inspiration for creating these essential spaces.


